This process is proven and used by many auto professional detailers. This easy to follow process will help you when detailing anything from a truck, to a daily driver, to your summer driver.
Now let’s look at each auto detailing step by step in a little more detail.
Wash
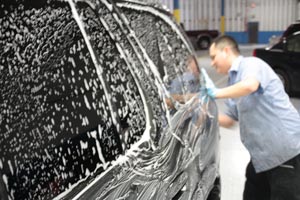
Wash the vehicle using the Two bucket method using a wash mitt to avoid scratching the vehicles paint. Since you will be sealing and waxing, you can strip off old car wax using Spray-On Pre-Wax Cleaner cleaning products. If you decide an engine bay auto detail is needed, do this first.
Engine Bay Detail
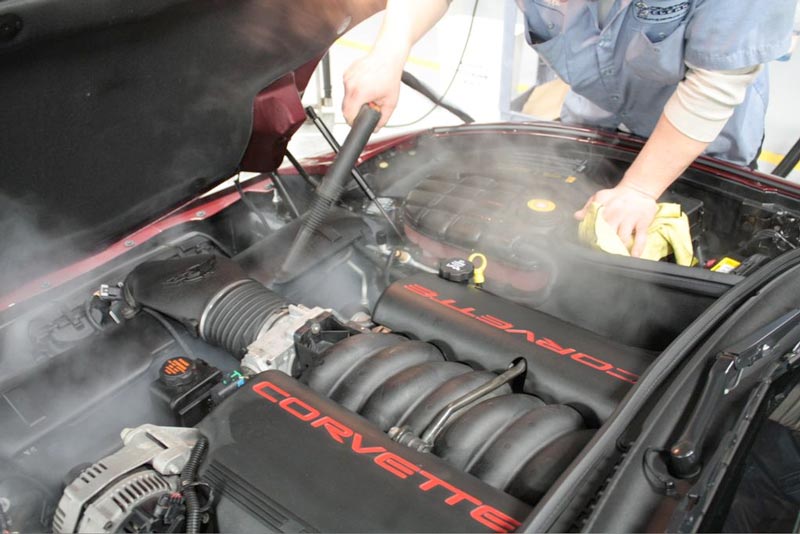
The first step in cleaning your engine is to remove the excess debris that gets trapped in your hood, grille and vent openings. This is particularly true if you live in an area with four seasons. If you have compressed air available, this is the best way to remove old leaves, dust and such. If you don’t, a simple hand brush will suffice.
The next very important step is to prepare your engine for getting wet. You must cover all sensors, the distributor, spark plug openings and any electrical devices that have the potential for water accumulation (which could cause a short). Use plastic baggies to cover these items. Be sure to use tape or rubber bands to hold the plastic bags in place. You’re only trying to prevent the majority of the water from getting in; it does not need to be watertight. The engine environment should already be waterproof. The baggies are just a precaution.
Degrease
To loosen the grease accumulated on your engine and the engine compartment, start your engine and allow it to warm for a few minutes. The best temperature for cleaning your engine is warm to the touch, but not hot. If you’re able to hold your hand to the engine without saying “Ouch,” then the temperature is just about right.
After warming the engine and protecting sensitive areas, you’re ready to apply an engine degreaser. Although they are quick and easy, I warn people against the use of harsh petroleum-based cleaners in the engine compartment. They quickly cut through grease and grime, but they also deteriorate your rubber and vinyl components (not to mention what they do to our environment!). As an alternative, use a citrus or water-based cleaner. A great alternative to harsh solvents is McKee’s 37 Engine Degreaser. It’s an environmentally safe cleaner that makes a great alternative to those petroleum-based cleaners.
When applying your engine degreaser, it’s best to start from the lower areas and work your way up. This prevents the degreaser from dripping on you as you clean the underside areas. One important thing to remember: the engine degreaser will remove the wax from the painted surfaces of your car. If you get degreaser overspray on your fenders, plan on re-waxing these areas.
Wash
When you have applied your engine degreaser, be sure to wash any excess cleaner from the exterior painted surfaces of the fenders, hood and grille. I like to spray these areas with water first.
Depending on the amount of accumulated grease, allow the degreaser to soak on the engine for 3 to 5 minutes. During those few minutes, you want to keep an eye on the degreaser. You don’t want it to become dry on the surface. For light to mild levels of grease, you will not need to use a brush on the engine and other surfaces. For heavy soil, you can use a long-handled brush (parts brush) and car wash solution to provide additional cleaning action prior to hosing off the degreaser. Agitating the grease with a soft to medium bristle brush is the most efficient way to break up the grime during rinsing.
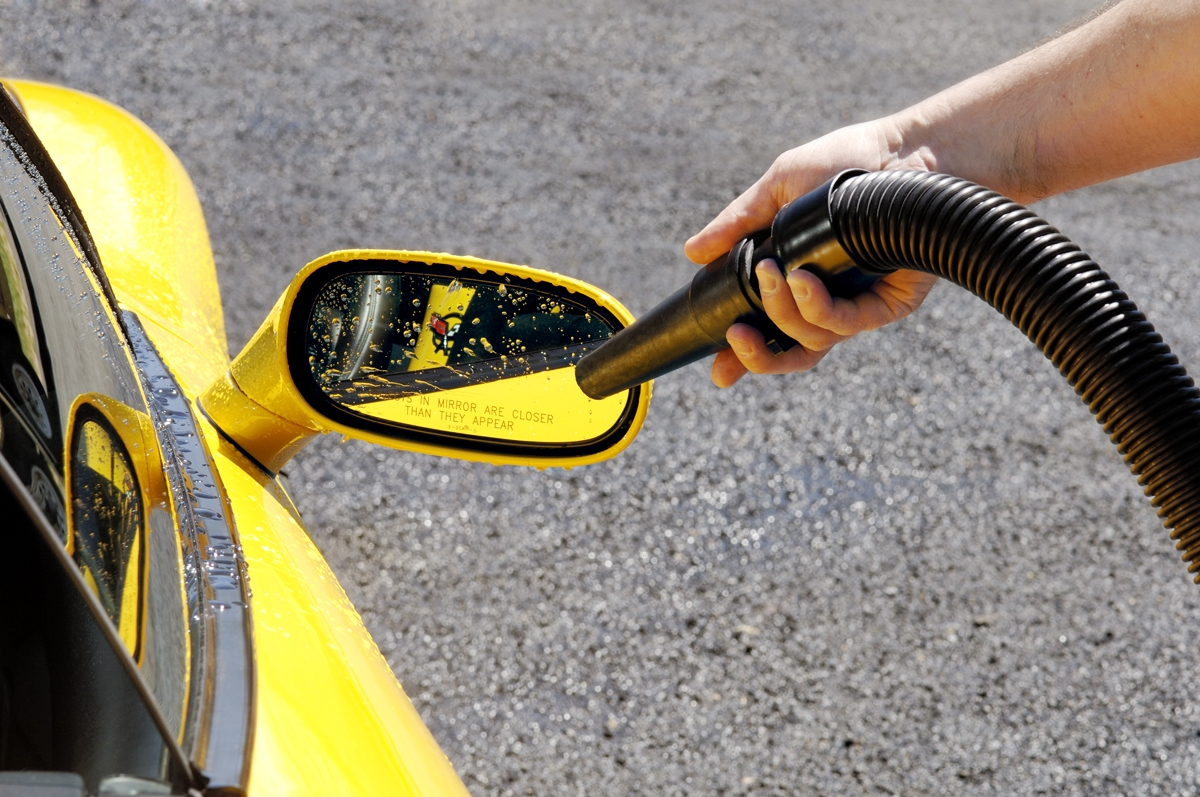
When you are ready to remove the degreaser, hose down the entire engine compartment and surrounding surfaces with plenty of water. If you’re using a high-pressure nozzle, be careful that you don’t get the nozzle too close to the covered electrical connectors. Allow your engine to air dry for several minutes before using a towel to wipe down all accessible parts. Remove the plastic bags. The heat from the engine will assist in the drying process; however, do not allow the engine to air dry, as this will result in water spots. When dry, start your engine and allow it to run for a few minutes.
Two Bucket Method
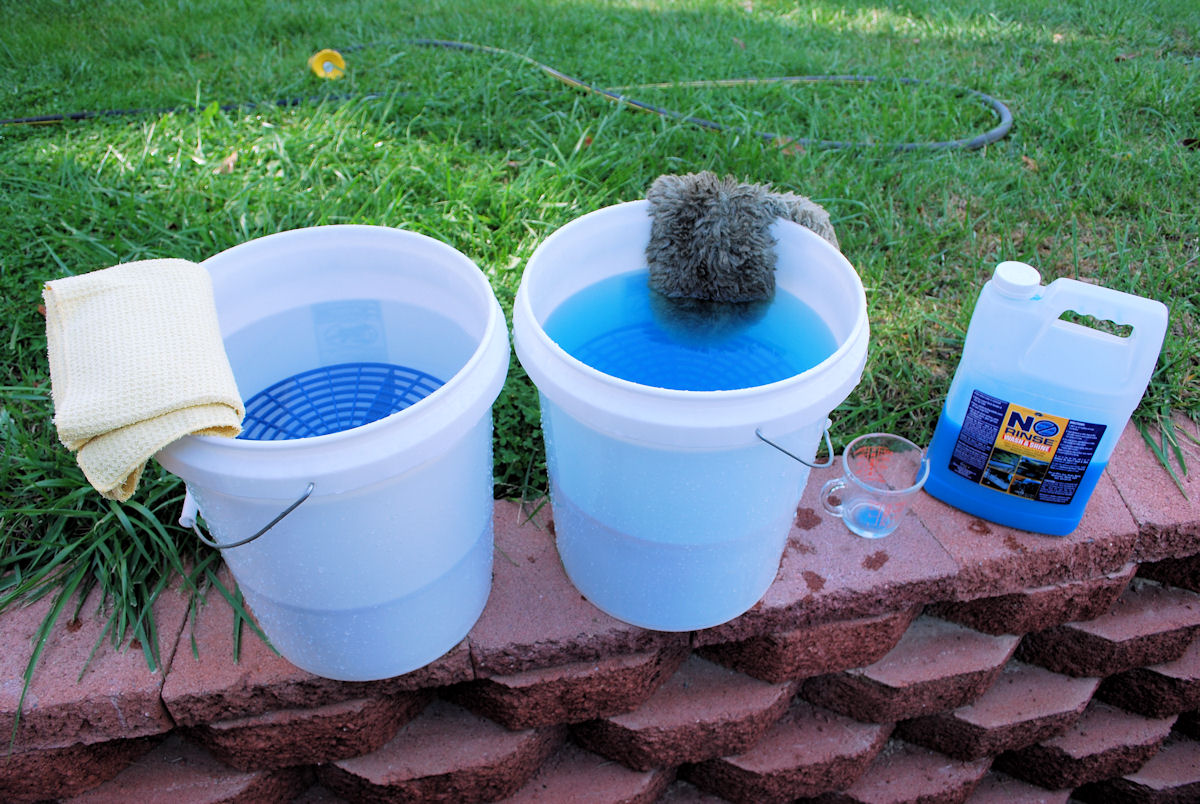
This involves using two car wash buckets, each with Grit Guards. Some enthusiasts place two Grit Guards into each bucket for even more protection against dirt and grime! The first bucket is filled with clean water and the second bucket is filled with your favorite car wash shampoo. Dunk your mitt into the soapy car wash solution first to wash your car with lubricating suds and then dunk the mitt vigorously into the bucket with clear water to rinse the mitt thoroughly. Using two buckets equipped with Grit Guards virtually eliminates the risk of transferring dirt back onto your paint.
Dry
Dry your car using a blower. Anytime you can avoid touching the paint you reduce the chances of adding scratches and swirls. If a blower is not available dry the vehicle using 2 big and thick microfiber towels. One for the initial drying, the other to take care of anything that’s left.
Clay
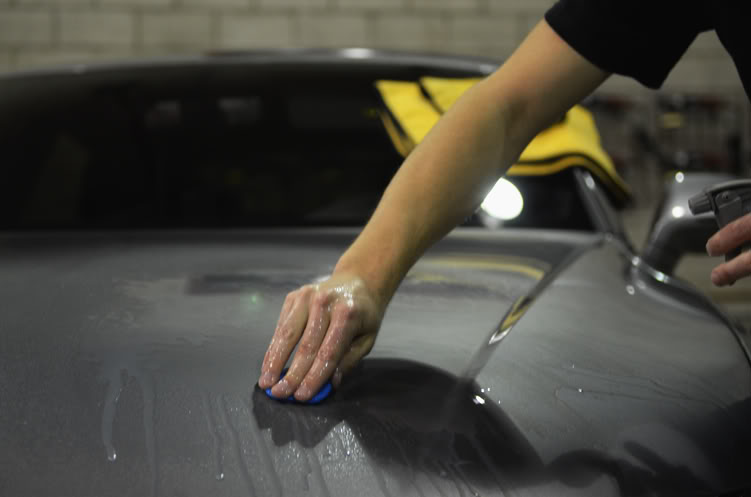
Clay the vehicle using a good quality, clean and new clay bar. Make sure to use plenty of clay bar lubricant. Wonder lube usually works well for this. Remember, you should also clay the windows, headlamps and tail lamps. The same thing goes for the door jambs. Be thorough.
Prep
Wipe each section you clay down to remove any residue. A good idea is to further clean the paint of any residue with a post-clay sprits. Some people like to wash again after claying.
Inspect
At this stage, you must decide if the paint needs correction or swirl removal. A dedicated Xenon or powerful LED detailer’s lamp comes in handy at this stage to help you see any imperfections in the paint and locate swirls.
Polish
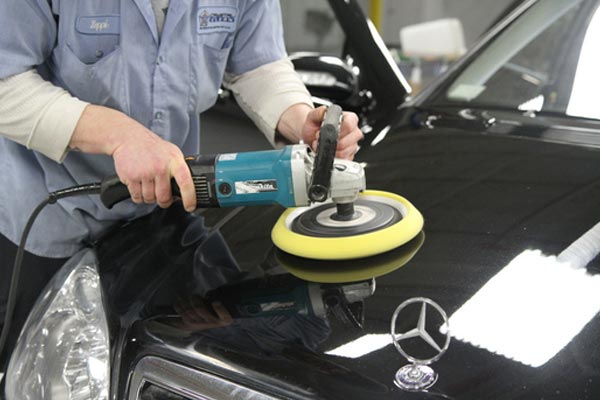
If you decide paint correction is needed, this is the part where the orbital buffer comes out. Depending on the paint type and how much work it needs, you need to choose your compounds and buffing pads accordingly.
Protect
Once the paint correction is done, or if you simply skipped over the last step, it’s time to protect the paint. You can go straight to layering carnauba wax, or you can use a polymer paint sealant first. The polymer sealant can be the sole protection, but some people like to layer carnauba on top of the sealer. It’s a good idea to let the sealant/wax cure for 12 hours between layers. For a weekend-only car or a show car, layering carnauba alone is fine. For a daily driver, paint sealant is best because it lasts much longer.
Interior
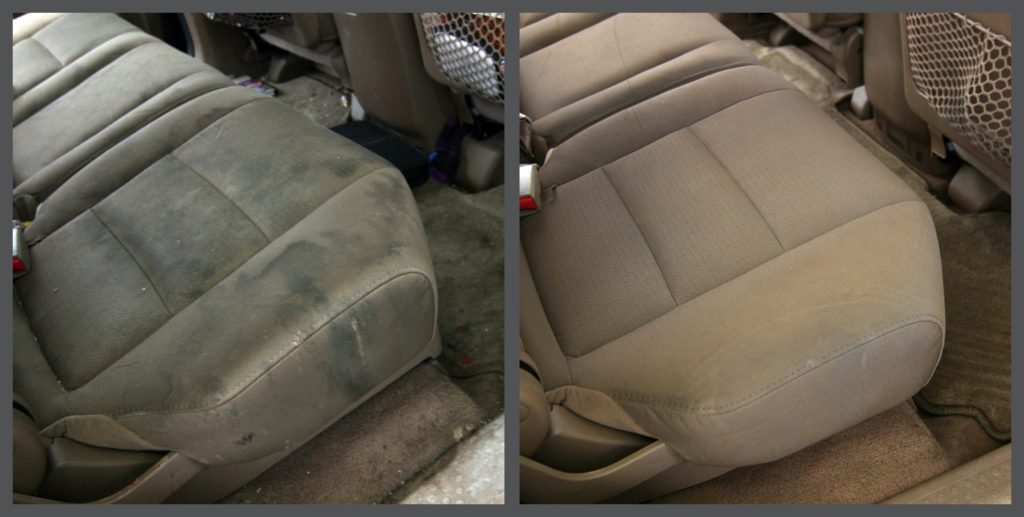
At some point during the process, you need to clean the dirt particles from the nooks and crannies and protect the interiors. A good idea is to do this while you wait for a wax layer to cure. A good vacuum and carpet shampoo can go a long way depending on how dirty the interior is. If there is stains, use a good quality stain remover. Use a good quality interior trim protectant that does not leave a sticky residue or is overly shiny.
Fabric
Leather seats require care during the interior detailing stage. Use a high-quality leather cleaner products, but spot-check for colorfastness first. After the leather has been cleaned and has dried, finish it off with leather conditioner. Keep in mind that some leather conditioners don’t play well with vinyl or pleather. Identify what type of leather you have. Many times seats have sections of real leather along with sections of vinyl. If you have cloth seats, clean and protect accordingly.
Wheels

Moving on to the wheels, be sure to choose an appropriate wheel cleaner for the type of wheels on your car, and follow the manufacturer’s instructions. After leaving the cleaner on for a few minutes, scrub away accumulated dirt and brake dust with a soft, feathered brush to prevent scratching. It’s important to remove accumulated brake dust because it includes tiny metal filings from the brake pads that can corrode and damage the surface of your wheels over time.
Glass
For the windows, headlamps, and taillights you clayed earlier, you can now treat them with a good, non-abrasive sealer recommended for glass and shiny hard plastics. Using the right glass cleaner will add UV protection, make the surface slick and help keep them clean from the weather, road grime, and bugs.
Details
Tiny details go a long way. Take the time to seal and wax the door jambs as well as the edges under the hood and trunk – the hidden areas you clayed. Sealing these hidden painted surfaces is a great idea as they will stay clean longer. Plus car wax in these hidden areas lasts a long time. Using a rubber and plastic protectant for exterior trim is a good idea. Be careful not to get any on the paint.
Extra Tips
* Make sure not to cross-contaminate surfaces. Microfiber cloth should not be mixed between auto detailing products or surfaces – even after they have been washed. Also, make sure you have plenty of them.
* Use painter’s tape to mask off trim to avoid getting wax and sealant on it. Most waxes don’t play well with plastics and rubbers. This is especially useful if you are layering car wax using an orbital buffer since you can’t be as precise around the edges as you can by hand.
* An intensive auto detail job like this can take anywhere between 16-40 hours depending on whether paint correction is needed.
*Dry glass surfaces in two directions. When cleaning and drying your car’s windows, you’ll almost certainly come across an annoying streak on either the outside or the inside of the glass. To make the process easier, get in the habit of drying the exterior glass in one direction and the interior in another (horizontal and vertical for instance).
*Make sure you brush the carpet first. Another great tip to get rid of annoying bits is to brush the carpet with a stiff nylon brush. This will agitate the carpet fibers, making it easier to remove the bits with a vacuum cleaner. Be careful not to rub too hard, however, as this could damage the upholstery and lead to fraying.
*Always wash your car when the bodywork is cool and out of direct sunlight – water evaporates faster on hot cars which can leave watermarks.
*Always dress your tires last as tires dressings often contain silicone, which you don’t want on bodywork when you wax it.
*Afterwards, always take some great photos in a 360 photo studio for cars.
That’s it! Follow each of these steps and you too can have professional results in all your auto detailing projects.